LED Sign Maintenance: A Practical Guide to Making Your Sign Last Years Longer
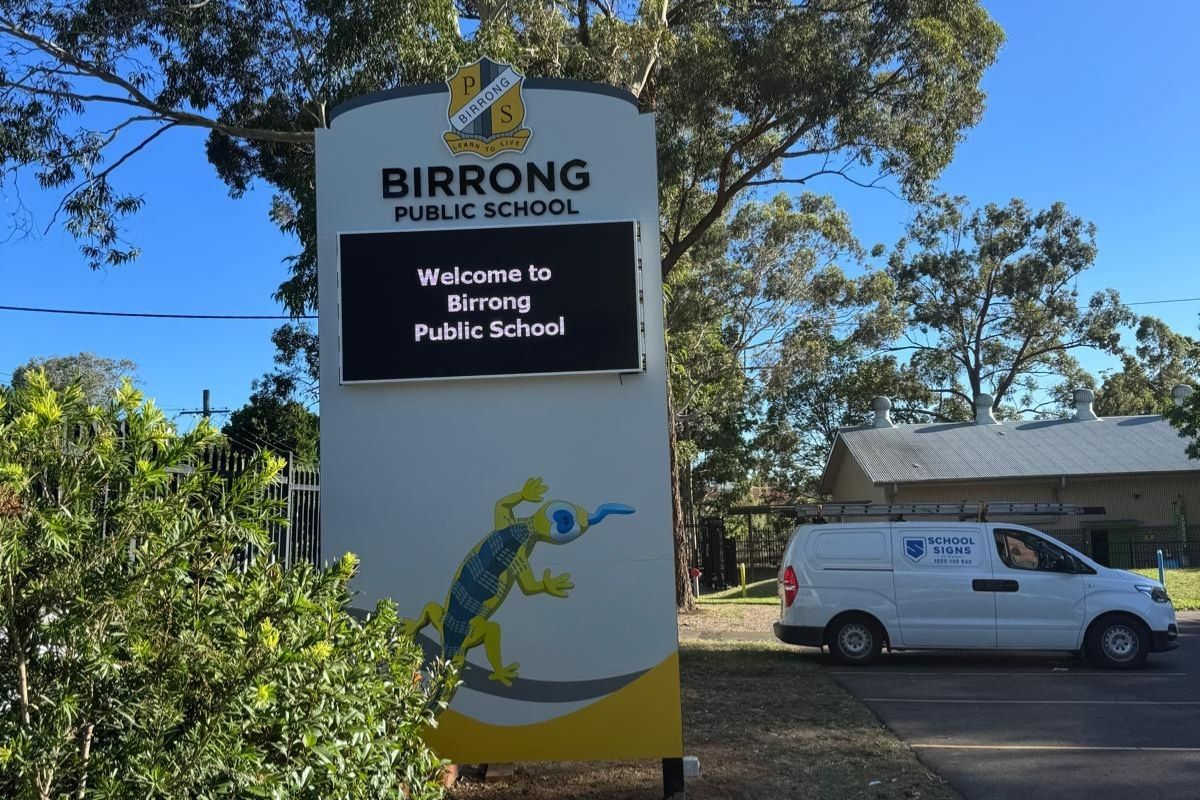
A LED sign is one of the most valuable communication tools for your school, church, club or business. It’s out there rain, hail, or heatwave, delivering updates, sharing achievements, and helping the whole community feel connected. With that much visibility (and that much weather exposure), a little maintenance goes a long way.
The good news is that looking after your LED sign isn’t complicated. With a simple routine and a few smart habits, you can add years to its lifespan, reduce repair costs, and keep every message looking crisp and clear.
Here’s a practical guide to help your LED sign stay brighter for longer.
Why LED Sign Maintenance Matters
LED signs represent a significant investment in your communication infrastructure.
With budgets increasingly stretched and the rising costs of facility upgrades, protecting that investment has never been more important.
Simple, proactive LED sign maintenance can add years to your digital signage’s lifespan and help you avoid surprise replacement costs that strain already tight budgets.
How Long Should an LED Sign Last?
High-quality LED signs can typically last between 50,000–100,000 operating hours, with some installations exceeding this range when properly maintained.
However, several factors can dramatically impact LED sign lifespan. Weather exposure, UV radiation, electrical surges, poor installation practices, and neglected maintenance can all shorten the life of your investment.
The quality of your hardware matters too. If you are working with poorly supported signage providers, you can face premature failures and costly repairs, while those who partner with reputable companies enjoy reliable performance for years.

A Simple LED Sign Maintenance Checklist for Schools
Maintaining LED signs doesn’t always require specialised expertise. Following these straightforward steps will keep your school signage performing optimally.
Monthly Visual Inspection
Start with a quick monthly check. Look for loose panels, noticeable damage, dimming modules, flickering lights, or pixel outages that signal developing problems.
Check the cabinet for visible gaps or signs of moisture inside.
Cleaning the Screen Properly
A gentle clean keeps your LED sign bright and easy to read. Use a soft cloth with mild detergent and water. Avoid pressure washers or harsh cleaners, which can force moisture inside or damage the surface.
Signs placed near trees often need more frequent cleaning. Tree sap creates sticky spots that attract dirt, and spring pollen can leave a yellow film that becomes harder to remove over time. If your sign is tree-adjacent, a quick monthly clean during peak pollen season helps prevent buildup.
For stubborn sap on the frame, soften it first with very hot, soapy water before gently wiping. This removes residue without scratching the surface. Different trees create different challenges (e.g. eucalyptus debris, bird activity around fruit trees), so adjust your cleaning routine based on what’s growing nearby.
Software and Content Maintenance
Keep firmware updated and review your scheduling software for proper operation. Remove outdated content to maintain professional school signage upkeep standards and ensure your messages remain relevant and effective.

Common LED sign issues (and how to fix them fast)
Even well-maintained LED signs can show signs of stress, especially after storms, hot weather, or busy terms.
Here are the most common problems schools and community groups run into, plus some simple steps to take before calling for help.
1. Flickering, dimming or lines across the screen
What it usually means:
Something inside the sign isn’t getting the power or data it needs, often caused by weather, age or a loose connection.
What you can do:
- Turn the sign off and on again at the main power source.
- Have a quick look for visible damage
When to call a technician:
If flickering continues or it’s only affecting one section of the screen.
2. Connectivity dropouts (Wi-Fi, 4G or LAN)
What it usually means:
The sign has lost its internet connection, often after storms, network changes at the school or weak signal.
What you can do:
- Restart the sign or its controller (depending on your setup).
- Check if Wi-Fi is weak in the sign’s location.
- Confirm no passwords or school network settings have recently changed.
When to call a technician:
If it still won’t reconnect or the antenna looks damaged.
3. Moisture or fogging inside the screen
What it usually means:
Water has found its way inside, normally after heavy rain or storms.
What you can do:
- Turn the sign off immediately.
- Take photos of the moisture so a technician can identify the entry point.
What NOT to do:
Don’t open the sign or try to dry it from the inside.
When to call a technician:
Straight away. Water problems can escalate quickly.
4. Odd colours, patches or sections that look “off”
What it usually means:
A small part of the screen isn’t performing correctly, often a hardware issue, not software.
What you can do:
- Restart the sign.
- Give it time to cool if it’s just come through a heatwave.
When to call a technician:
If the same patch keeps showing the wrong colours or looks different from the rest of the screen.
5. Overheating or shutting off in hot weather
What it usually means:
The sign is protecting itself from high temperatures, especially in summer.
What you can do:
- Make sure nothing is blocking the vents (e.g. mulch, leaves or cobwebs).
- Give the sign shade where practical (school landscaping often helps).
When to call a technician:
If the sign overheats regularly or you hear loud, unusual fan noises.
6. The sign won’t turn on at all
What it usually means:
There’s an issue with power, anything from a tripped circuit to a component that needs replacing.
What you can do:
- Have your facility manager check the switchboard for a tripped circuit.
- Confirm no recent electrical works disconnected or rerouted power.
- Restart the sign if it’s safe and accessible to do so.
When to call a technician:
If the sign stays off after checking the basics.
Why Professional Servicing Matters
While regular DIY maintenance is valuable, annual professional servicing can save thousands in repair costs. A qualified technician should assess LED module health, test power supplies, verify software stability, and evaluate structural integrity.
The difference between companies that install and disappear versus providers who genuinely support maintaining LED signs throughout their lifecycle is significant. Choose partners committed to long-term performance, not just initial installation.
How School Signs Assure Extends LED Sign Life
School Signs Assure was designed specifically to extend school signage lifespans through comprehensive care.
The service includes a thorough checkup 2–6 months after installation, conducting on-site audits of module health, wiring, waterproofing, and structural safety.
And the program is backed by a 5-year warranty for complete peace of mind.
Beyond technical maintenance, the service also includes a School Sign Gap Analysis with Innovation Benchmarking, comparing your signage effectiveness against education sector peers and providing practical recommendations based on what’s working at similar schools.
Final Thoughts: Maintaining Your LED Sign
LED sign maintenance doesn’t need to be complicated or time-consuming. A few simple habits deliver years of added lifespan and significantly lower long-term costs.
By following this practical guide and partnering with providers who prioritise ongoing support, your school or community group can maximise its signage investment while maintaining clear, reliable communication with your community.
